Photos from the bench. What a leaking capacitor leaves behind, what ‘doing it right’ looks like, and what someone’s ‘complete recap’ actually turned out to be.
‘Bad caps.’ ‘Recapped.’ ‘All new capacitors.’ You hear those an awful lot. Just what are they supposed to mean — and what should they mean? There is a right way and a wrong way to do just about anything, and this holds true with replacing capacitors. Too often, it means that only a few capacitors were actually replaced, when you were told that they were ALL replaced, or that the unit was simply ‘recapped’. The photos below show both sides of the coin: how it shouldn’t be done, and how it should.
New to ‘bad caps’? Here’s what happens inside one →
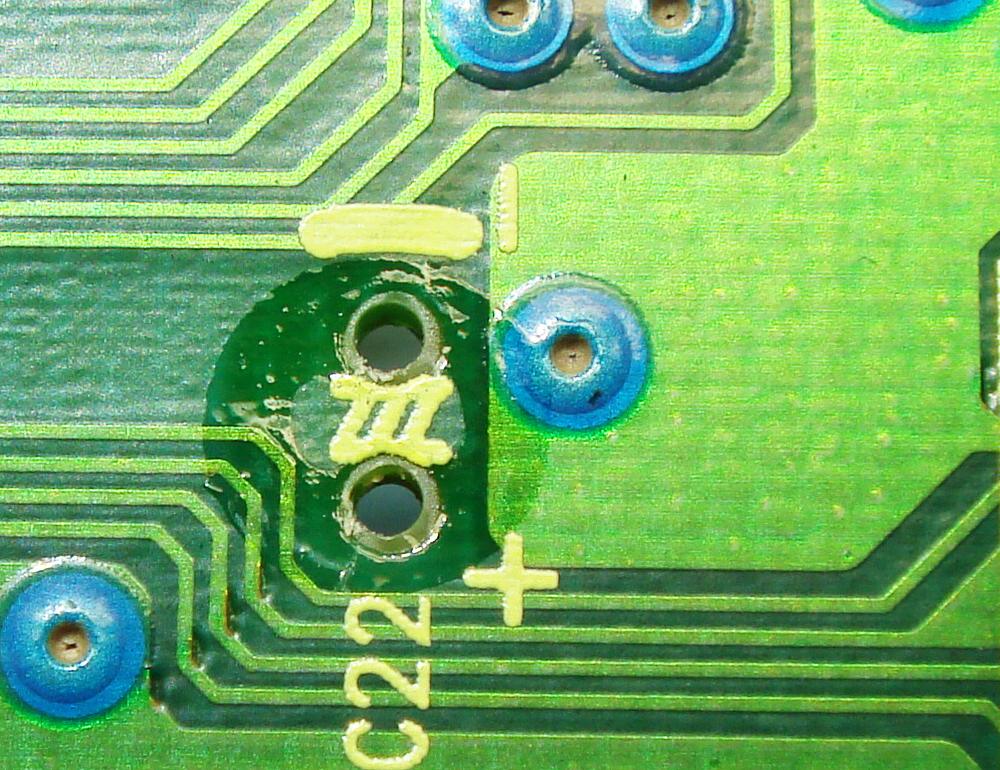
You will not see this from the top. The capacitor looks fine, the deck works, and the ring is underneath, out of sight. The only way to know is to take the part off and look — which is why I replace all of them and not just the ones that look bad.
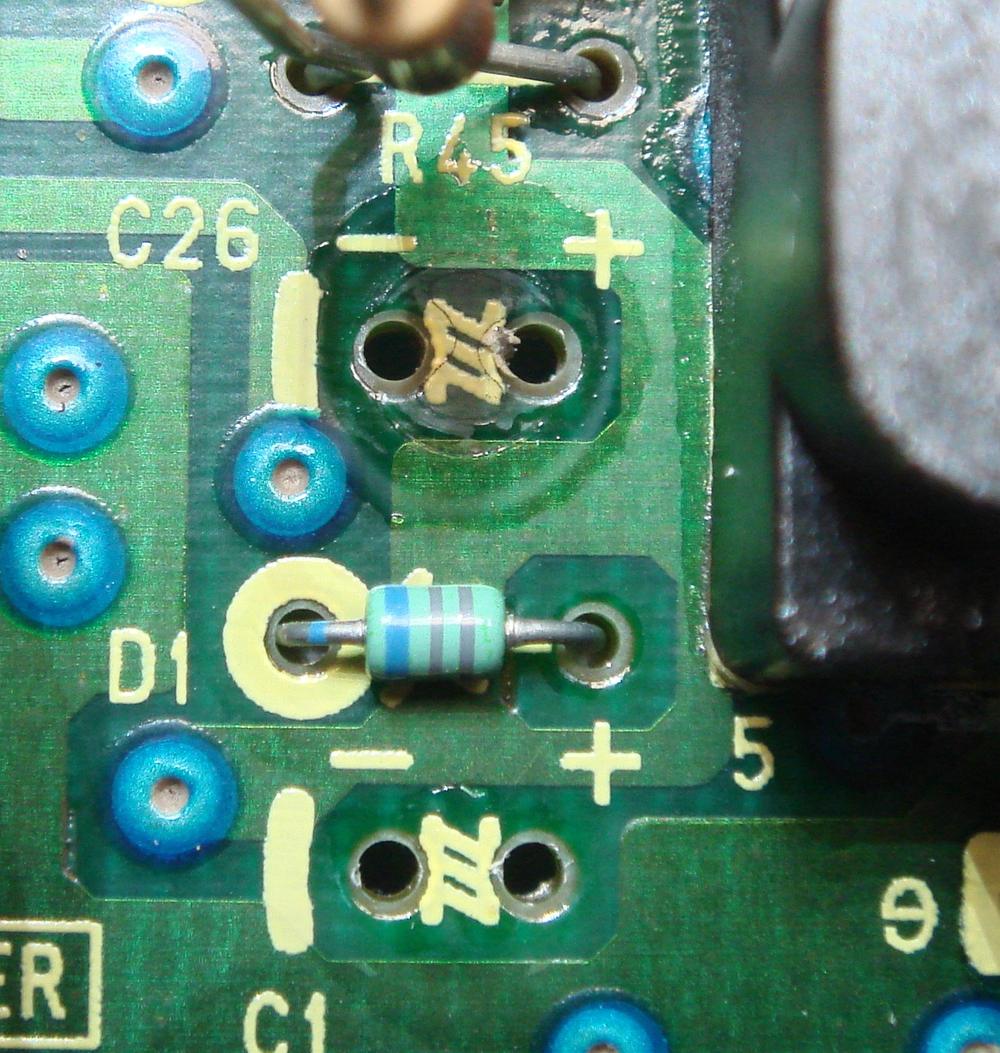
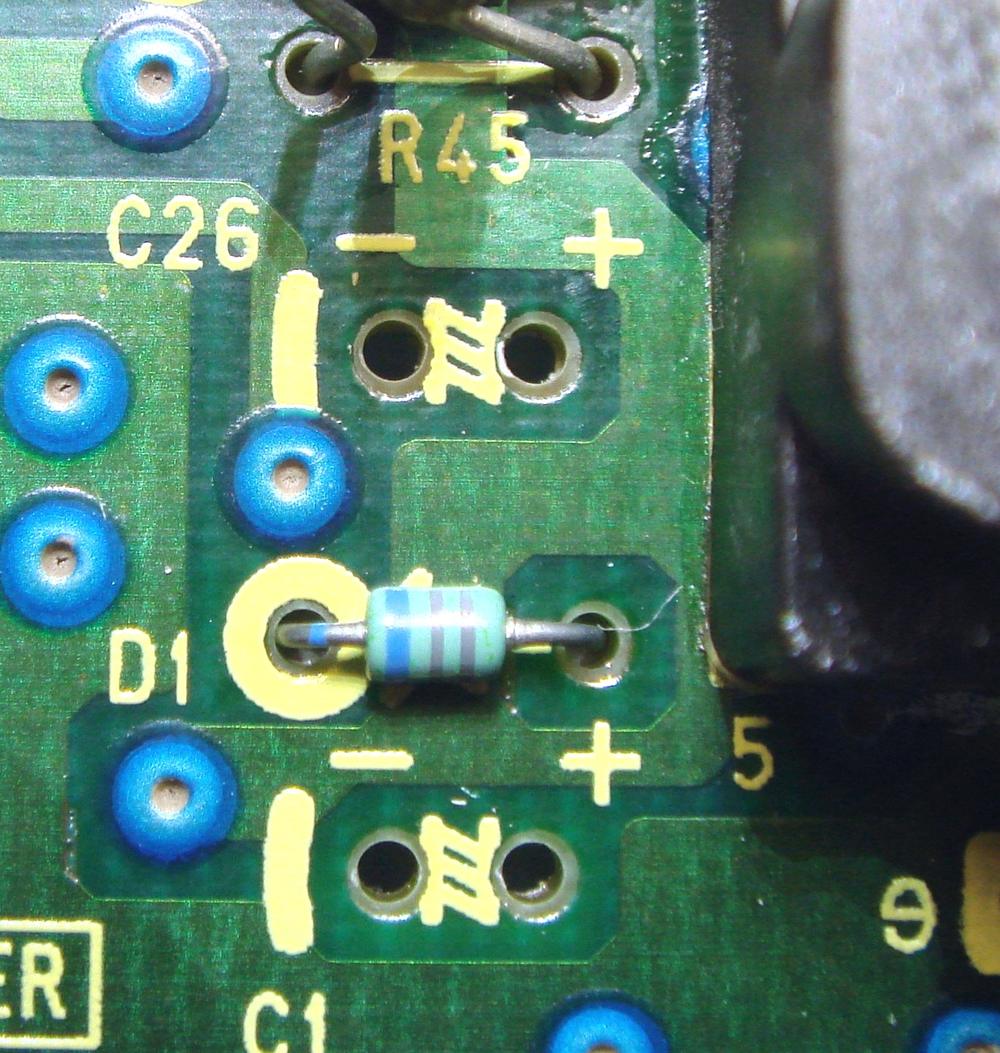
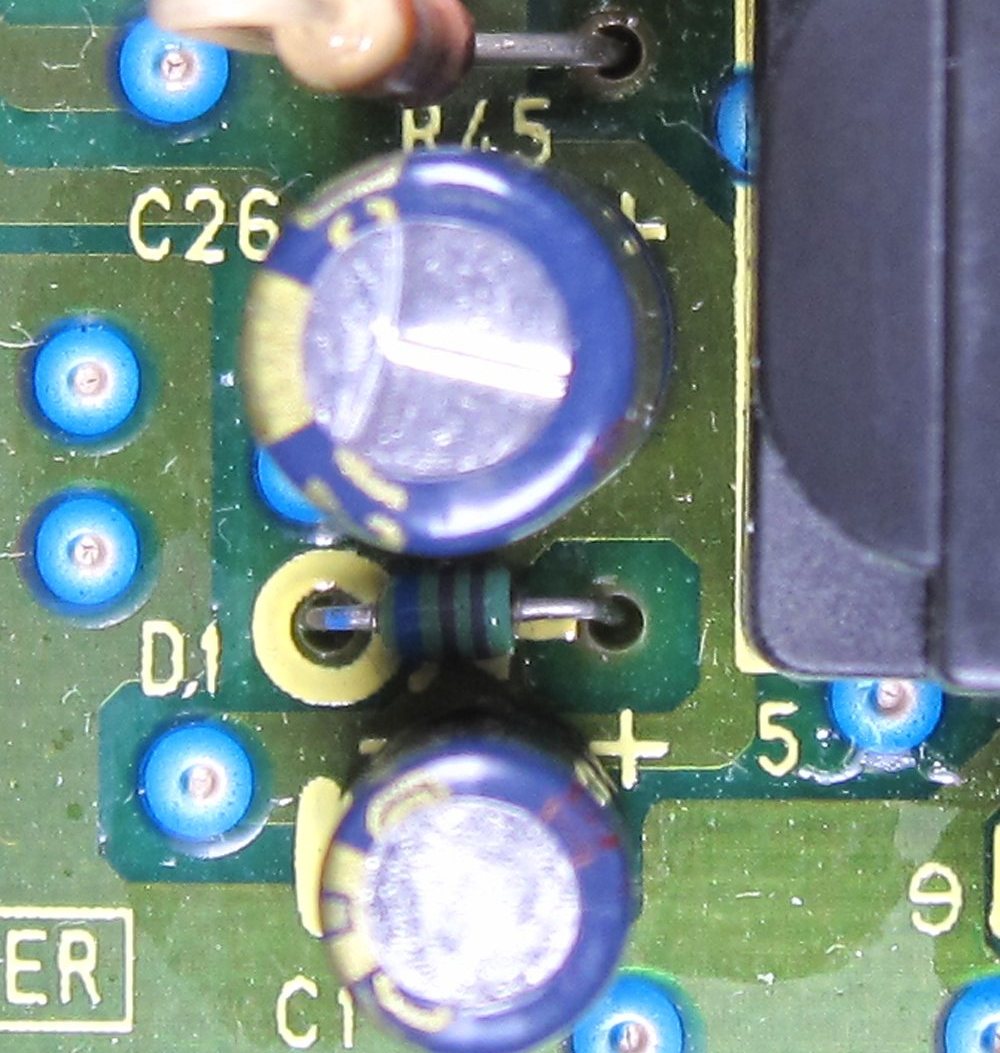
Same two pads, same spot, three stages. Each pad gets cleaned before a new capacitor goes in. Leave the bad stuff on the board, under the new part, and you’ve started another clock ticking down on your machine.
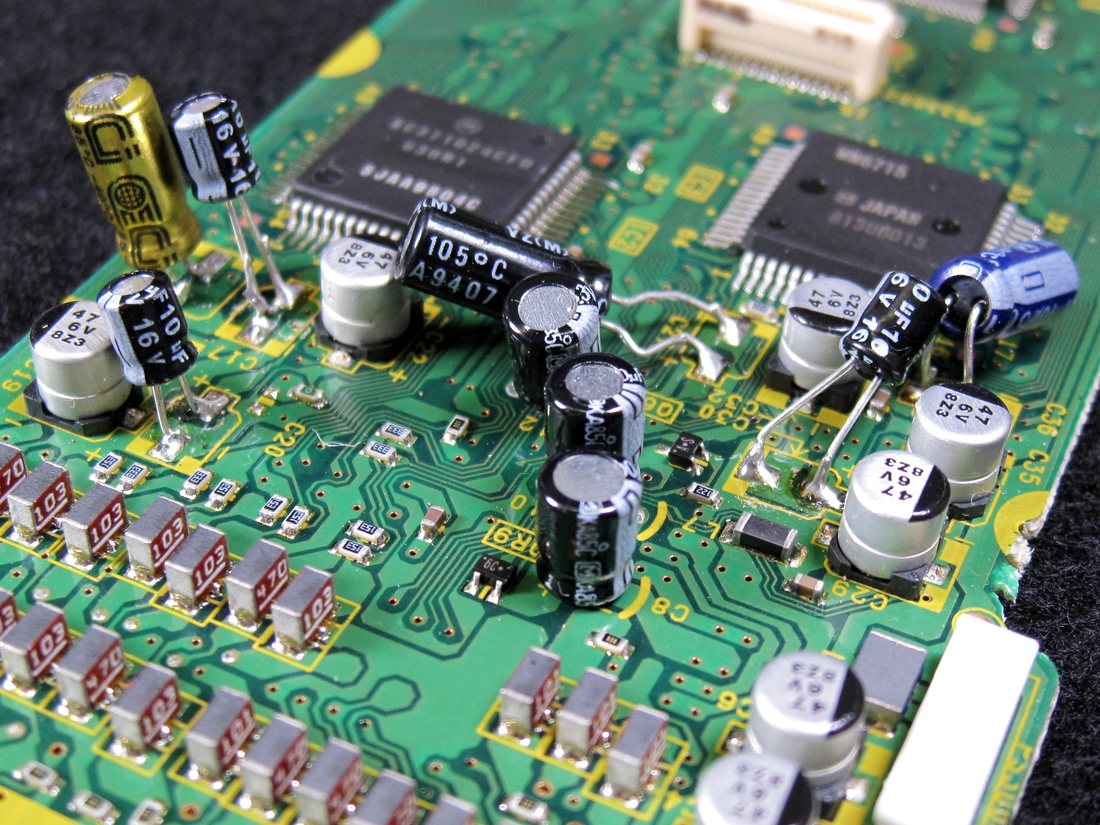
Those are through-hole capacitors standing on bent legs over pads that were meant for surface-mount (SMD) parts. They allowed the machine to function — but the picture quality suffered because of the sloppy work. ALL OF IT — the new and the old — has to come off before this board can be recapped properly. There are approximately 250 capacitors in this machine, standard electrolytic and SMD electrolytic both — and EVERY ONE OF THEM gets replaced!
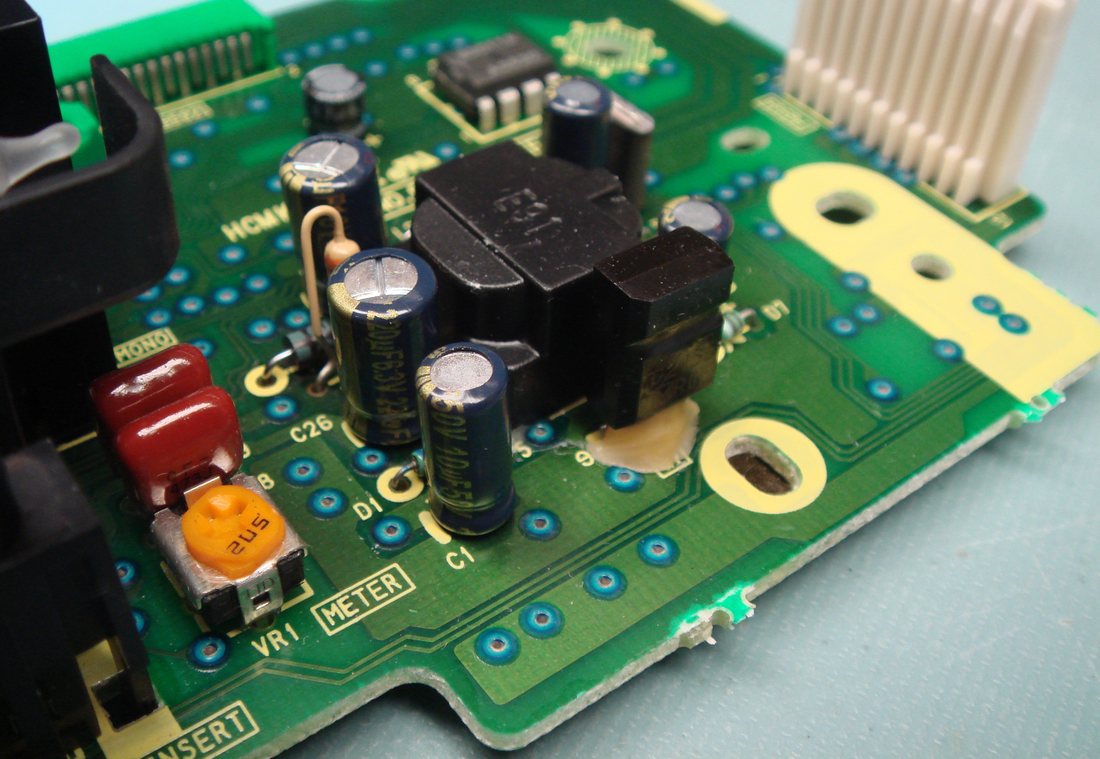
This is one board of many inside an AG-1980. The full job, board by board, is on the Bullet Proofing page →
Got an AG-1980 or AG-5710 that somebody already “recapped”? Send it in — I’ll tell you exactly what was done and what it needs before any work begins.
Click HERE to Request Service